Documentation
Quick Start Guide
Follow these simple steps to activate and customize your self-hosted Cleotalk AI chatbot.
Step-by-Step Setup Guide
1
Step 1: Activate the Plugin
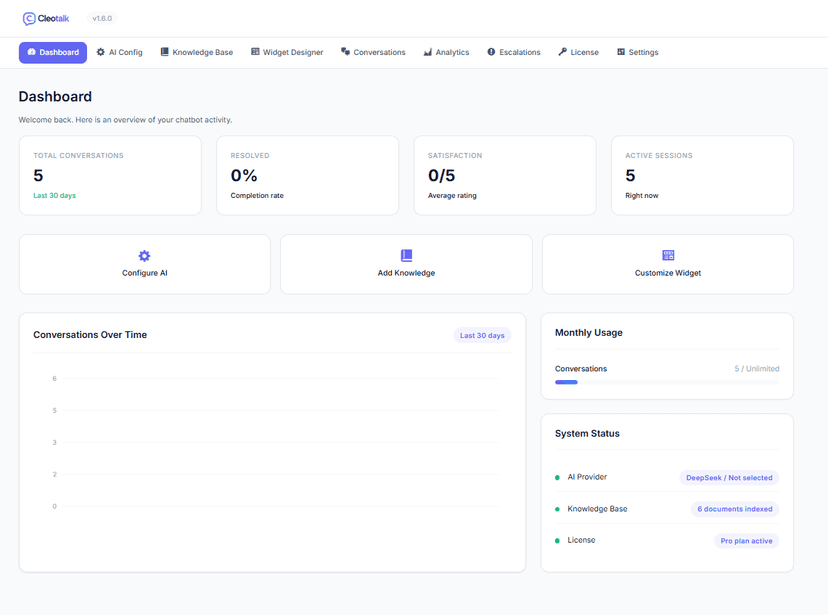
After installing Cleotalk, go to Plugins > Installed Plugins and click Activate next to "Cleotalk WP". You'll see a new Cleotalk menu item appear in your WordPress sidebar.
2
Step 2: Connect an AI Provider
Go to Cleotalk > AI Config. Choose your preferred AI provider (e.g., OpenAI, Google Gemini). Enter your API key. Select a model (we recommend starting with a fast model like GPT-4o-mini or Gemini 2.5 Flash). Click Save Configuration.
Not sure which provider to choose?
OpenAI (GPT-4o-mini) is the most popular choice because it is fast, affordable, and offers great quality. Google Gemini (2.5 Flash) is also excellent and offers generous free tiers.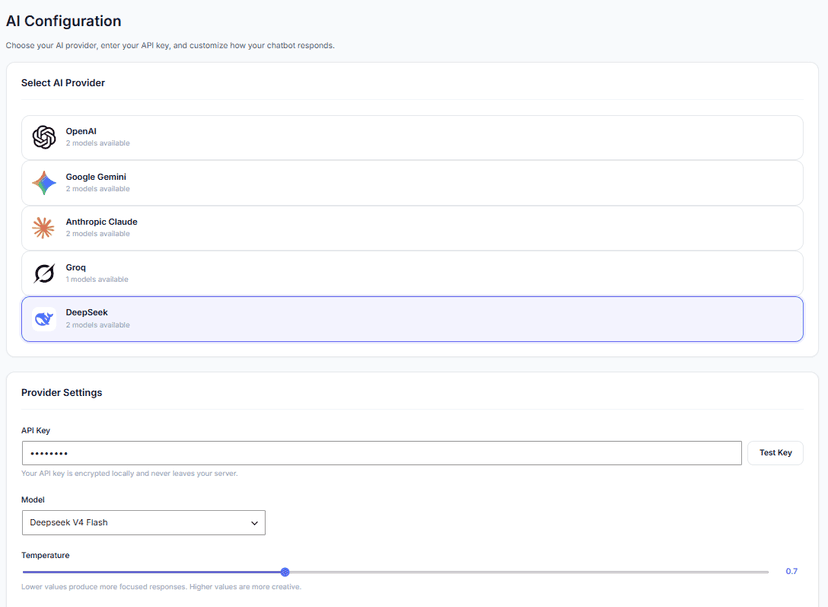
3
Step 3: Add Knowledge Base Content
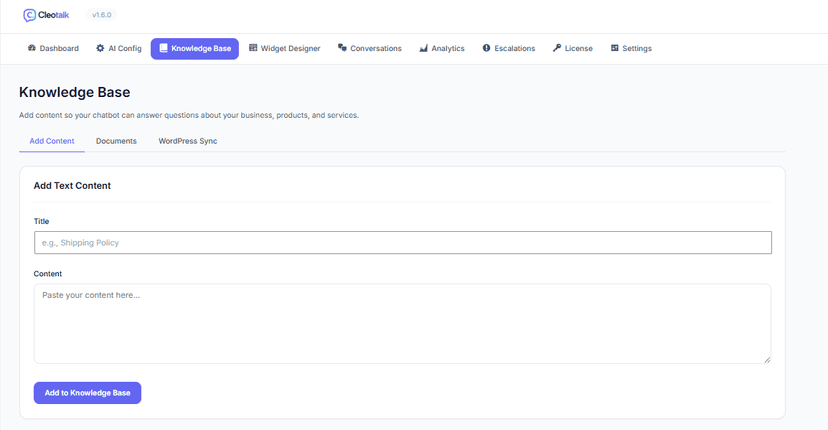
Go to Cleotalk > Knowledge Base. Click Sync WordPress Content to import your existing pages and posts. Optionally add FAQs, PDFs, or website URLs. The more content you add, the better your chatbot will answer questions about your business.
4
Step 4: Test Your Chatbot
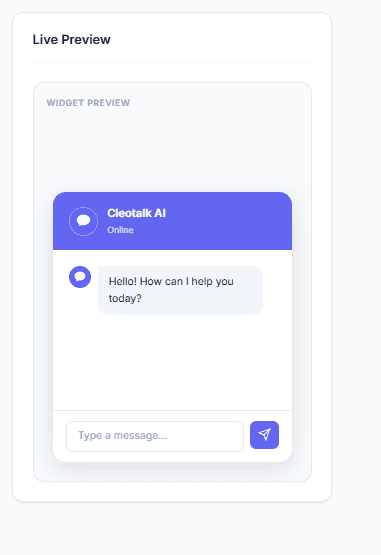
Visit your website's frontend. You should see the Cleotalk chat bubble in the bottom-right corner. Click it and ask a question to test!
5
Step 5: Customize (Optional)
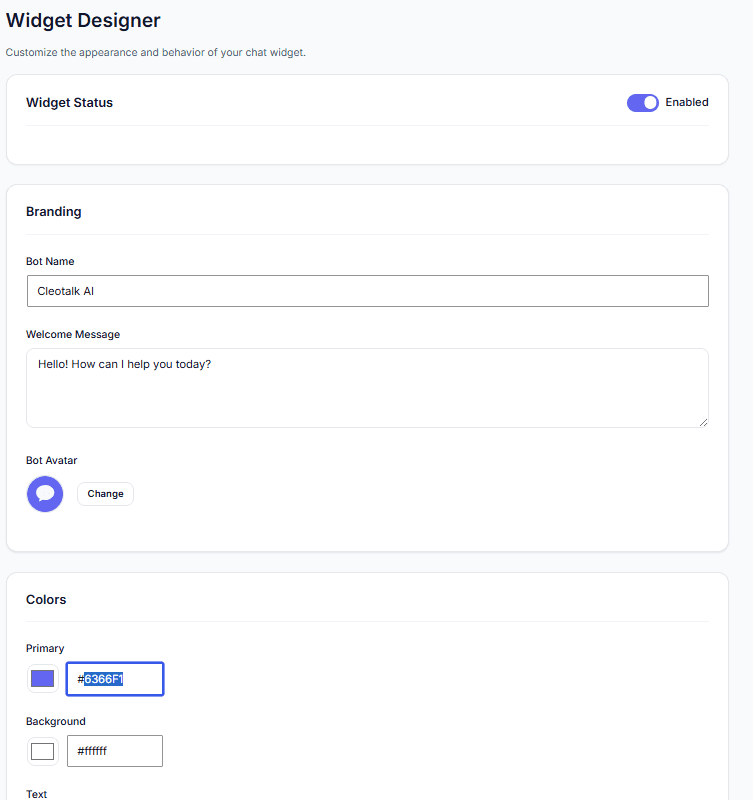
Go to Cleotalk > Widget Designer to change colors, position, welcome message, and avatar to match your brand.
That's it! Your AI chatbot is now live. Continue reading the sections below to learn about advanced features.
System Requirements
- WordPress 6.0 or higher
- PHP 8.1 or higher (with openssl and curl extensions enabled)
- MySQL 5.7 or MariaDB 10.3 or higher
- Write permissions in the WordPress wp-content/plugins/ folder for automatic updates